How to Adjust Z Offset on Markforged Industrial and Desktop 3D Printers
Knowledge Base Article | January 3, 2024
Introduction
When leveling your Markforged printer’s print bed, you may sometimes have trouble getting enough travel from the leveling screws. This may happen when switching between print beds or after a system reset. If you ever run into this issue, run the Adjust Z Offset utility. The following procedure applies to Desktop and Industrial series printers. This utility is important to ensure proper bed leveling and prevent part quality issues.
Note: Before running the Adjust Z Offset utility, raise the fiber nozzle so that it sits higher than the plastic nozzle.
Run the Adjust Z Offset Utility
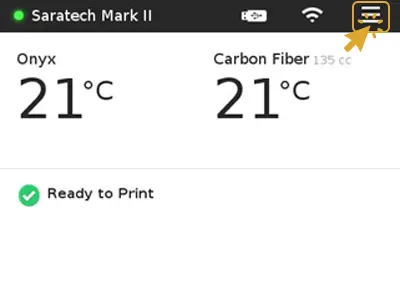
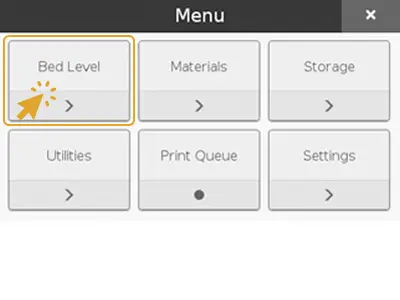
1. Select Menu > Bed Level > Adjust Print Bed Z Offset

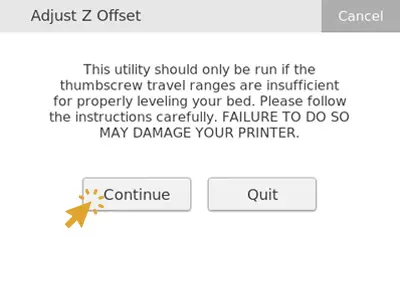
2. Read the safety warning and press Continue.
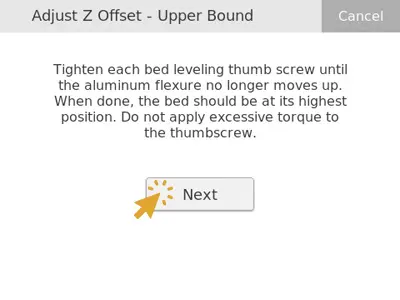
3. Raise the print bed to its highest position and until the thumbscrews are finger tight. Then press Next.
4. Using the buttons on the screen, adjust the height of the print bed until the first point of contact with the plastic nozzle (the plastic nozzle should just barely be touching the print bed). Once complete, press Next.
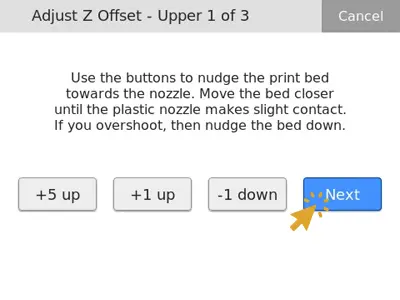
5. Repeat Step 4 for the next two positions.
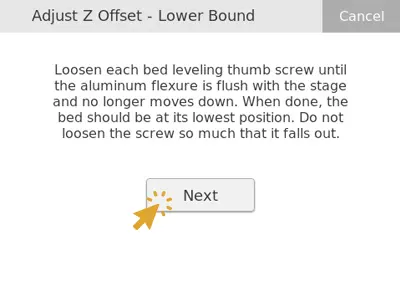
6. Lower the print bed to its lowest position. Lower until the flexures are bottomed out and the bed is flush with the print stage and press Next.
7. Using the buttons on the screen, adjust the height of the print bed until the first point of contact with the plastic nozzle (the plastic nozzle should just barely be touching the print bed). Once complete, press Next.
8. Repeat Step 7 for the next two positions. Press Finish.
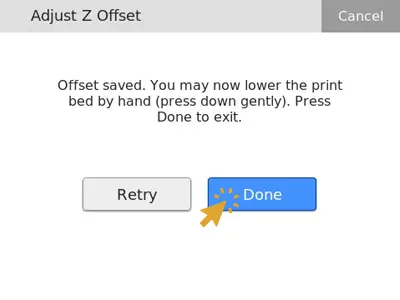
9. Allow the offsets to save and then press Done.