
Load & Unload Fiber Filament for Markforged Industrial & Desktop 3D Printers
Knowledge Base Article | January 3, 2024
Introduction
Correctly loading and unloading the fiber filament on your printer is important for printing successfully. Incorrectly doing so can result in issues while printing with fiber or damage to the printer. To unload and load fiber filament on your Markforged printer, follow the instructions below along with the prompts on your printer's touch screen. The following procedure applies to Desktop and Industrial printers.
Supplies
- Scale accurate to 1g
- Tweezers
- Wire cutters
- Tape
Unload Fiber
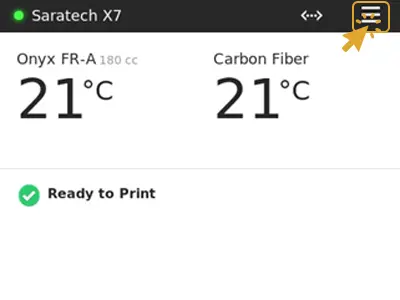
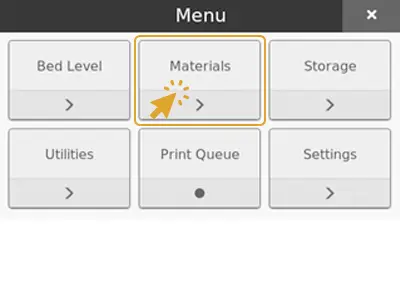
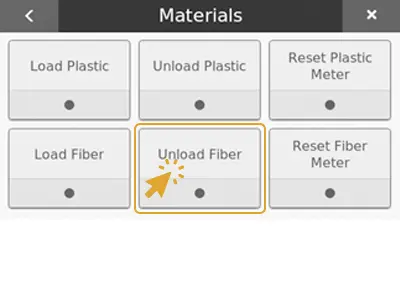
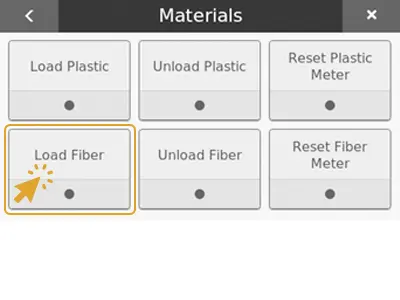
1. Select Menu > Materials > Unload Fiber
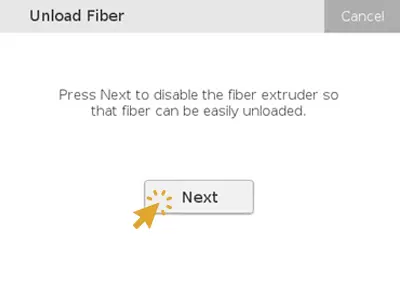
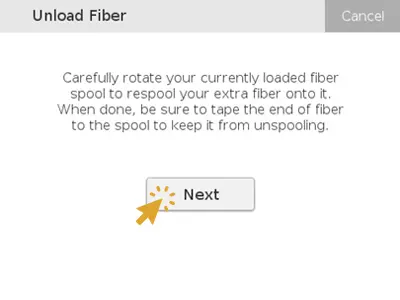
2. Press Next. This will disable the fiber extruder.
3. Carefully wind the fiber back onto the spool.
Note: Always hold the end of the fiber to keep the entire spool from unspooling.
4. Tape the end of the fiber onto the spool to keep it from unspooling and press Next.
Note: To avoid bending or breaking the fiber, tape the end to the inside of the spool wall.
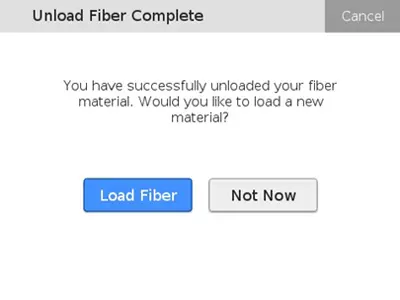
5. Press Load Fiber to load a new or different spool. Or press Not Now to exit the utility.
Need Additional Assistance With Markforged 3D Printing? Saratech 3D Printing Experts Can Help.
Connect With a Saratech 3D Printing Expert Today.
Set Up Fiber for Loading
CAUTION: Before beginning loading fiber, ensure that fiber is completely unloaded from the printer. Check that there is no fiber remaining in the fiber Bowden tube.
1. If you are loading a partial spool and would like the printer to track the usage of fiber material, weigh the spool in grams and make a note of the weight.
Note: The printer will automatically subtract the weight of the spool to obtain the weight of the fiber itself.
2. While holding the end of the fiber to keep it from unspooling, remove the tape from the spool.
3. Carefully unwind two and a half feet of fiber from the spool and secure the material with tape to keep the rest of the material from unspooling.
Note: To avoid bending or breaking the fiber, tape the end to the inside of the spool wall.
4. Trim off any filament that appears bent with wire cutters. Bent fiber may be difficult to load.
5. Feed the end of the material through the fiber feed tube until it reaches the fiber extruder.
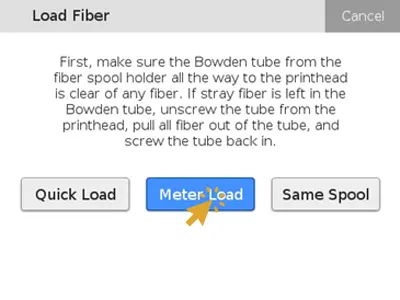
Meter Load Fiber
If you would like the printer to keep track of the material usage during printing, follow the instructions below. Meter loading the fiber will allow the printer to determine how much material is left on the spool and warn you when starting a print job if more fiber is required than what is loaded. The amount of material left will be displayed on the touchscreen and on Eiger.
1. Select Menu > Materials > Unload Fiber
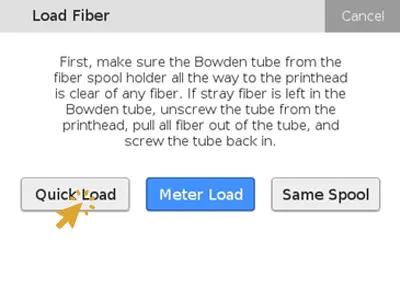
2. Select Meter Load.
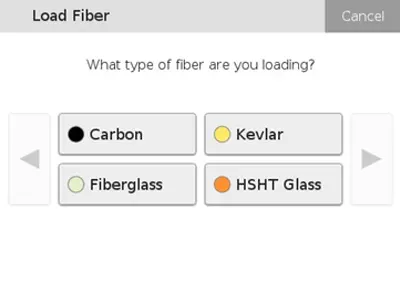
3. Select the type of fiber you are loading.
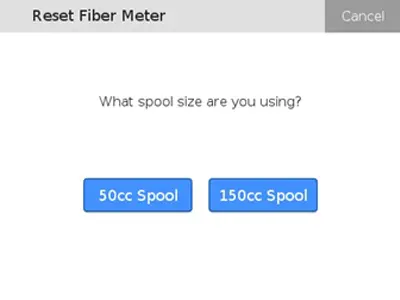
4. Select the size of the spool you are loading.
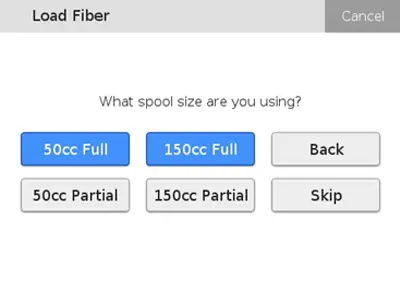
5. If you selected 50cc Full or 150cc Full, skip to step 6. If you selected 50cc Partial or 150cc Partial, enter the weight of your spool and Press Done. Then press Next.

6. Carefully continue to feed the fiber into the feed tube until the extruder catches the material. At this point, the fiber should be pulled upward automatically and fed through the fiber Bowden tube until it reaches the printhead.
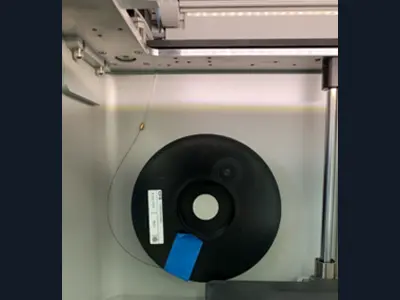
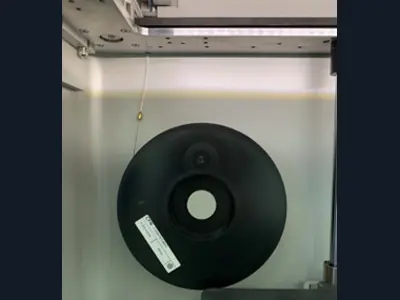
7. As the fiber is feeding through the extruder, place the spool on the spindle. The spool should be oriented so the material exits from the bottom of the spool. Secure the spool with the magnetic cap.
8. Once the fiber is under tension on the spool, remove the tape and set it aside. You can keep the tape on the outside wall of the spool for later use.
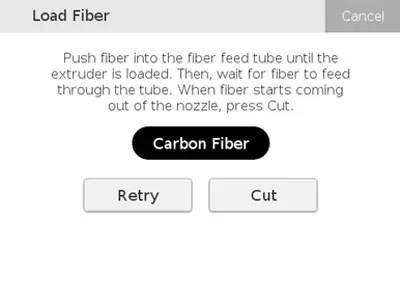
9. When fiber starts extruding from the print head, press Cut.
Note: Do not press Cut until the fiber is extruded from the nozzle. Pressing too soon can result in a fiber jam.
10. If the extruded material does not fall on its own, use tweezers to remove it.
11. If the extruder times out before fiber is extruded out, press Retry.
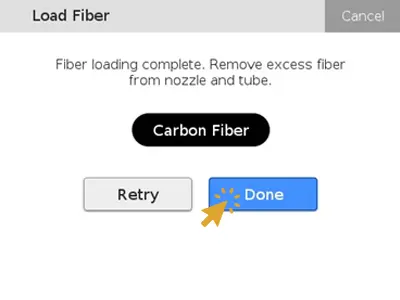
12. Press Done to exit the utility.
Quick Load Fiber
If you do not want your printer to track how much material is left on the spool, or you do not have the proper scale to measure the weight of your spool, select Quick Load when loading your fiber. If a spool is quick loaded, the printer will not alert you when running low on material.
1. Select Menu > Material > Load Fiber
2. Select Quick Load.
3. Select the type of fiber you are loading.
4. Carefully continue to feed the fiber into the feed tube until the extruder catches the material. At this point, the fiber should be pulled upward automatically and fed through the fiber Bowden tube until it reaches the printhead.
5. As the fiber is feeding through the extruder, place the spool on the spindle. The spool should be oriented so the material exits from the bottom of the spool. Secure the spool with the magnetic cap.
6. Once the fiber is under tension on the spool, remove the tape and set it aside. You can keep the tape on the outside wall of the spool for later use.
7. When fiber starts extruding from the print head, press Cut.
Note: Do not press Cut until the fiber is extruded from the nozzle. Pressing too soon can result in a fiber jam.
8. If the extruded material does not fall on its own, use tweezers to remove it.
9. If the extruder times out before fiber is extruded out, press Retry.
10. Press Done to exit the utility.
Reset Fiber Meter
Eiger estimates the remaining fiber material conservatively. To improve the accuracy of the material metering, use the Reset Fiber Meter utility.
1. Select Menu > Material > Reset Fiber Meter.

1. Carefully remove the fiber spool from the spindle. Do not unload the fiber filament from the printer.
2. Weight the spool.
3. Select the size of your spool.
5. Enter the new spool weight and press Done.
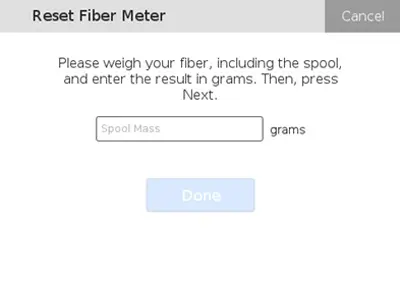
6. Carefully place the fiber spool back on the spindle.
