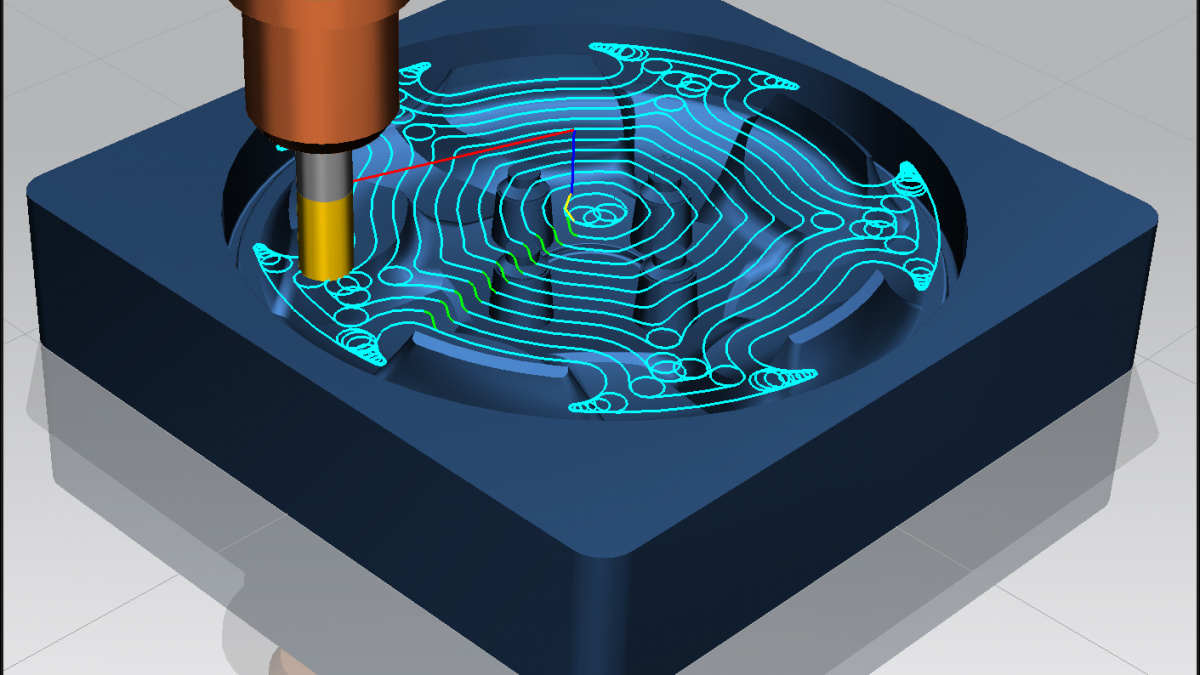
You can benefit from creating templates in several ways. One is the reuse of common tooling for the certain features while also retrieving proven tooling data like Speeds, Feeds, depth of cut and width of cut. Templates in NX CAM can be made for every type of operation. It’s not uncommon for a programmer to have several hundred templates, because it greatly speeds up programming times.
Tips and tricks before watching
Before following along to this video, here are 3 quick tips that will help you prepare for getting started with NX CAM and creating templates:
– Create the correct set-up for the application needed
– Take your time when creating templates
– Don’t be discouraged if it doesn’t work the first time
There are several steps that need to be done before templates will work the way you expect. Once you understand the paths and procedures, templates become very simple to create and access.
While watching the tutorial, be careful to save an original copy of the DAT files that are altered. It’s very easy to make a mistake that will make the file unusable, so it’s imperative to create a back-up copy before altering any files.
Keep in mind: This video shows how to use an Icon from the copied operation. There are several BIT icons in the NX folder, and it’s very easy to go to the WEB to download BIT icons you may want. It’s simple to associate a different BIT icon for your special templates; that way, they are more easily distinguished from others. This video does not portray this, but it’s done by altering the properties of the file and then changing a line in the operating data file to show the path to the other BIT icon.
Get Free Access | PLM Software Trainings Videos & Live Tutorials
Common mistakes and how to avoid them
The most common mistake is that users don’t save the Template File into the Template DIR in the NX Folder.
The second most common mistake is not setting the Template settings correctly. The one setting is “Use as Template,” and “created when parent is created.” To understand what this means, “Use as Template” needs to be checked when selecting operations. This will allow those operations to be used as a template.
Next, you should select the operation Geometry Group and select “Create when Parent is Created.” This will have created all operations anytime you create a Geometry Group with this name.
Here’s an example: I have a geometry group name .5” Hole. This group has three operations in it. I select all the operations and then select “Use as Template.” Select the Geometry Group named .5 Hole and select “Create when Parent is created.” Now, you have saved this as a Template. Each time you create a Geometry Group called “.5 Hole” all the operations will automatically be created. It’s a little tricky, but once the system is understood, it becomes much easier.
Comment below to share your thoughts or let us know if you have any questions.
For more videos like this, subscribe to our YouTube Channel.


