
9 Easy Steps to Program a CNC Machine
Blog Article | February 19, 2026

Summary & Key Topics
Learn how to program a CNC machine in 9 easy steps—from selecting CAD/CAM software and generating toolpaths to post-processing, simulation, and test runs. This practical guide explains G-code fundamentals, tooling strategies, coordinate setup, and programming methods to help manufacturers improve accuracy, reduce scrap, and increase production efficiency.
Key Topics Covered:
-
CAD to CAM workflow
-
Toolpath creation and optimization
-
G & M code fundamentals
-
Cutting tool selection
-
Work Coordinate System (WCS) setup
-
Program simulation and verification
-
Post-processing for specific CNC controllers
-
Program transfer and machine setup
-
Manual vs. CAM vs. conversational programming
Introduction
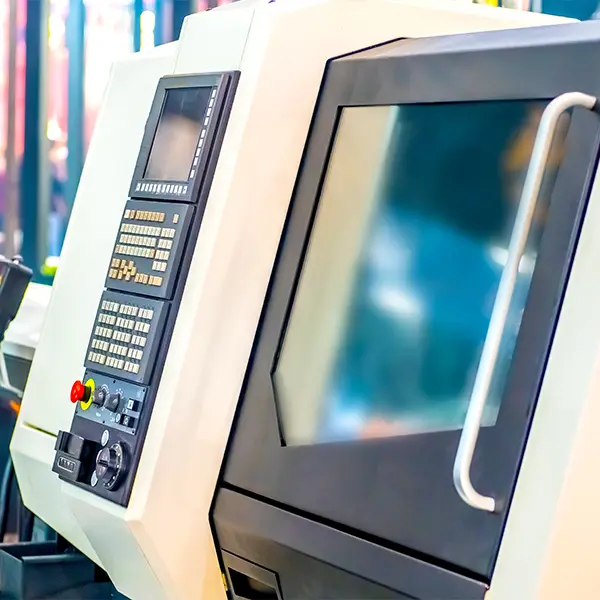
CNC, or Computer Numerical Control, machines are automated manufacturing systems that use programmed instructions to control cutting, drilling, milling, or turning operations. Instead of manual handwheels or levers, CNC machines rely on digital commands to achieve high precision and repeatability.
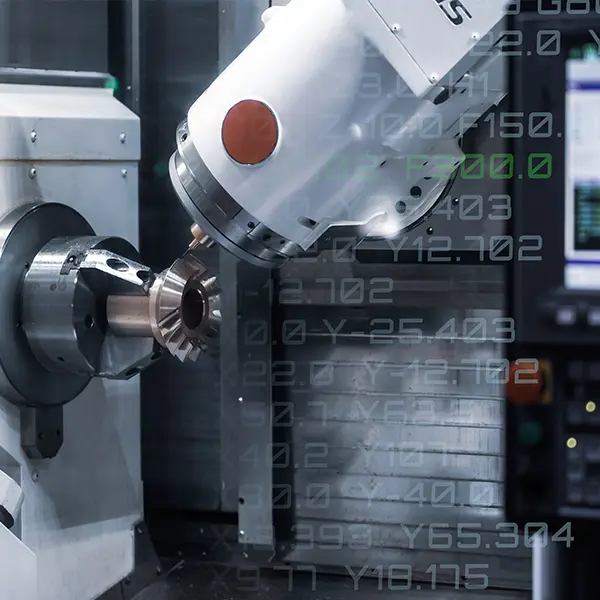
At the core of CNC machining is CNC programming, which converts a digital part design into machine-readable instructions. These instructions—most commonly written in G&M code—tell the machine how fast to move, where to cut, which tools to use, and when to start or stop operations.
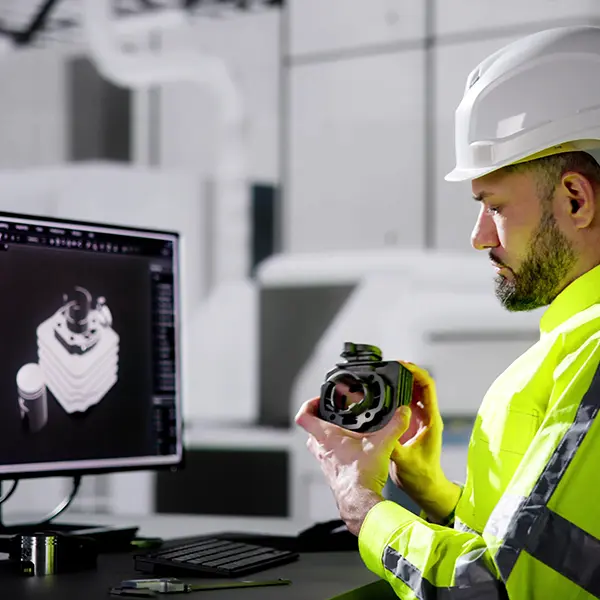
This translation from design to machine motion is typically handled by CAM (Computer-Aided Manufacturing) software. CAM software generates optimized toolpaths from CAD models and outputs G&M-code that the CNC machine can execute safely and efficiently.
Understanding how to program a CNC machine is essential for machinists, manufacturing engineers, and production teams looking to improve part quality, reduce scrap, and shorten setup times.
Here Are 9 Easy Steps To Program a CNC Machine
1
Choose a CAD/CAM Software
The first step in CNC programming is selecting the right CAD/CAM software for your application.
- Create a CAD model: Design a 2D or 3D representation of the part, including all critical dimensions, features, and tolerances.
- Convert the model to G&M-code: Use CAM functionality to translate the CAD geometry into toolpaths and machine instructions.
The software you choose should support your machine type (mill, lathe, router), materials, and production complexity.
2
Create Toolpaths
Toolpaths define how the cutting tool moves relative to the workpiece.
During this step, you will:
- Select machining operations (facing, pocketing, contouring, drilling)
- Define cutting speeds and feed rates
- Specify tool changes and entry/exit strategies
Well-defined toolpaths reduce cycle time, improve surface finish, and help prevent tool wear or breakage.
3
G&M-Code Programming
Once toolpaths are generated, the CAM system outputs G&M-code.
Before sending it to the machine:
- Review motion commands for correctness
- Check rapid moves and clearance heights
- Confirm spindle speeds, feed rates, and tool calls
For manual edits or troubleshooting, understanding basic G&M-code structure is critical for safe CNC operation.
4
Select Cutting Tools
Cutting tool selection directly impacts accuracy, tool life, and productivity.
Tool choice depends on:
- Workpiece material (aluminum, steel, plastics, composites)
- Cutting speed and feed requirements
- Tool geometry and coating
Using the correct tool minimizes vibration, improves chip evacuation, and extends machine uptime.
5
Set the Work Coordinate System
The Work Coordinate System (WCS) defines where the part is located relative to the machine.
Key tasks include:
- Establishing part zero (X, Y, Z origin)
- Aligning the coordinate system with fixtures or vises
- Verifying offsets for repeatable setups
Accurate work coordinates are essential for precision machining and multi-operation jobs.
6
Simulate the Program
Before running the program on the actual machine, simulation is critical.
CAM simulation helps:
- Detect collisions between tools, fixtures, and the machine
- Validate toolpaths and machining order
- Identify gouging or missed features
This step significantly reduces the risk of scrap parts and machine damage.
7
Post-Processing
Post-processing converts generic toolpaths into machine-specific G-code.
During post-processing:
- The CAM system formats code for the target CNC controller
- Machine-specific commands and syntax are applied
- Final output is generated for transfer
Choosing the correct post-processor ensures compatibility with your CNC machine.
8
Transfer the Program to the CNC Machine
Once the G-code is finalized, it must be transferred to the machine.
Common transfer methods include:
- USB drives
- Local network connections
- Direct serial or wireless communication
Always verify file integrity and program version before execution.
9
Run a Test
Before full production, always perform a test run.
Best practices include:
- Dry runs without material
- Cutting on scrap material
- Monitoring tool motion and spindle behavior
Test runs help catch last-minute issues and confirm the program behaves as expected.
Don’t Have the Time or Resources To Program Every Part In-House?
See How Our Contract CNC Programming Services Can Help.
Types of CNC Programming
Manual Programming
Manual programming involves directly writing G&M-code at the CNC controller.
- Best suited for simple parts
- Offers full control over machine motion
- Prone to human error for complex geometry
Computer-Aided Manufacturing (CAM)
CAM programming automates toolpath generation.
- Ideal for complex or multi-axis parts
- Reduces programming time
- Includes simulation and verification tools
Conversational Programming
Conversational programming uses guided menus instead of raw G&M-code.
- Built into some CNC machines
- User-friendly for shop-floor programming
- Limited flexibility for advanced parts
Important Codes for CNC Programming
Understanding common CNC codes is essential when learning how to program a CNC machine.
- D-codes: Tool offset distances
- F-codes: Feed rates and cutting speeds
- G-codes: Machine motion and geometry control
- M-codes: Auxiliary functions (coolant, spindle control)
- N-codes: Line numbering for program organization
- S-codes: Spindle speed settings
- T-codes: Tool selection commands
How to Write Your Own CNC Code
Step 1
Export
Move the CAD model into CAM software for machining setup.
Step 2
Toolpaths
Define machining operations, tools, and motion strategies.
Step 3
Verification
Simulate the program to check for errors or collisions.
Step 4
Download to the CNC Machine
Transfer the verified G&M-code for execution.
CNC Programming Software Examples
Commonly-Used CNC Programming Software Includes:
- Mastercam
- Vectric
- MeshCAM
- Fusion 360
- Carbide 3D
- hyperMILL
Each option supports different machine types, complexity levels, and production needs.
Conclusion & Key Takeaways
Learning how to program a CNC machine is a structured process that combines design, planning, simulation, and execution. By following these nine steps, manufacturers can improve machining accuracy, reduce setup errors, and increase overall efficiency.
With continuous practice and careful refinement, CNC programming becomes a powerful skill that enables consistent, high-quality production across a wide range of industries.
Key Takeaways
- CNC programming converts CAD designs into machine-readable instructions
- CAM software simplifies toolpath creation and G-code generation
- Simulation and test runs are essential for safe machining
- Proper tooling and coordinate setup directly affect part quality
